How to Make your First Google Ads Campaign a Success
Google Ads (Formerly Google AdWords) is one of the most powerful online marketing tools available – but many business owners are still not using it, or are not using it correctly.
In this step by step guide, we will walk you through the creation of your first Google Ads campaign. But even if you have dabbled with Google Ads before, you will still find some helpful tips and tricks to optimize your next campaign.
We will start with account creation, so if you already have an account, go ahead and skip to Step 2 – Campaign Creation
Step 1 – Account Creation
To get started, visit https://ads.google.com/
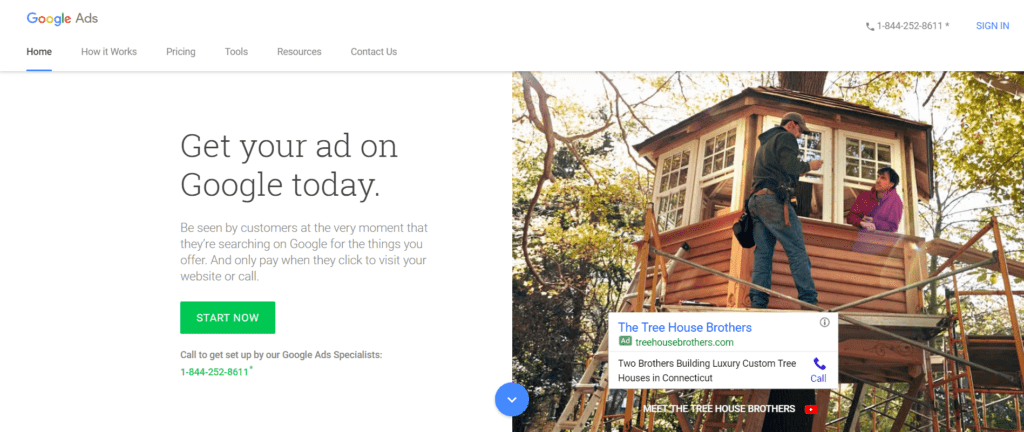
From here, go ahead and click START NOW.
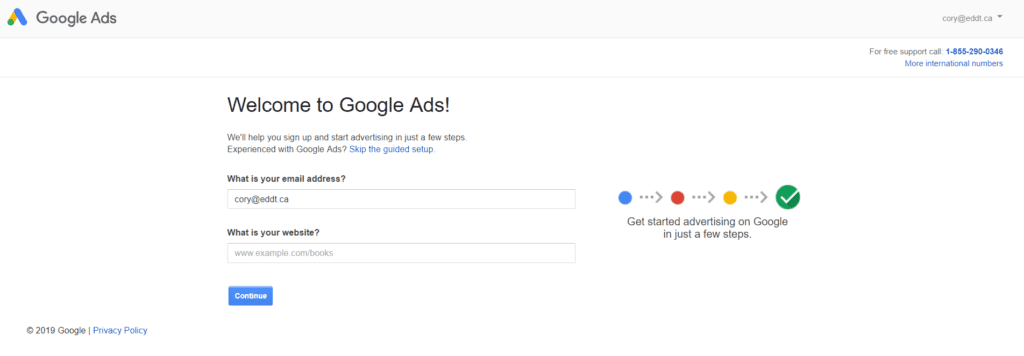
When you reach this page, you want to click “Skip the guided setup”!
If you don’t, you will be trapped in a simplified campaign set up with limited customization options. If you rushed ahead and are already trapped, click here for instructions on how to get back on track.
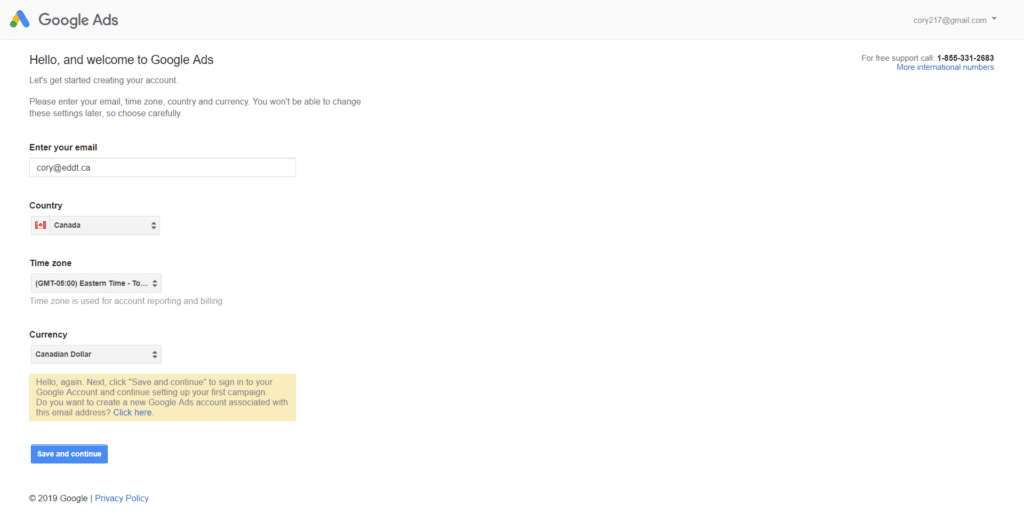
From here, simply enter your email, country, time zone and currency, then click “Save and Continue.”
This will bring you to your Google Ads account overview.
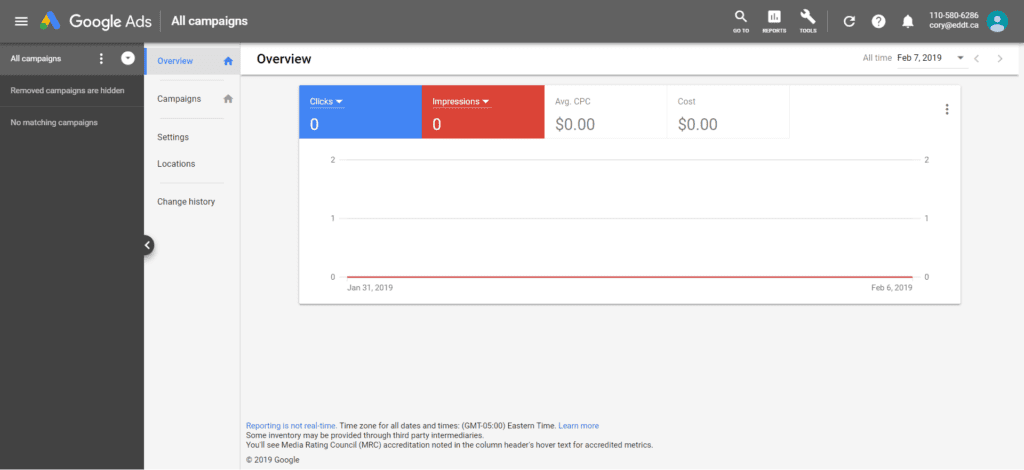
From here, click on “Campaigns”, and you are ready to start creating your first campaign.
Step 2 – Campaign Creation
You will now see a blue button with a + symbol. Click this to begin creating a new campaign.

The first step is choosing the goal of your campaign.
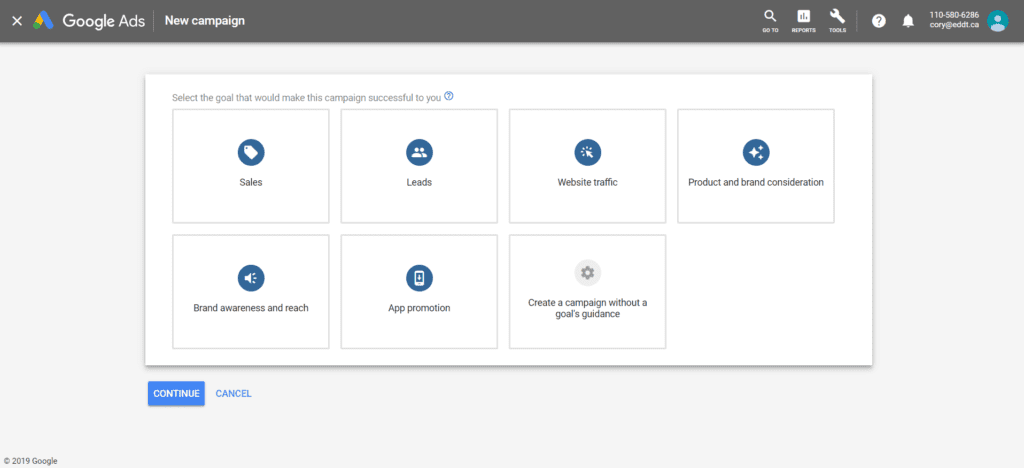
We recommend you select “Leads” as your goal, since the goal for most businesses is to convert your website traffic into leads.
This option will allow Google to track specific actions users take on your page, which can offer valuable insights.
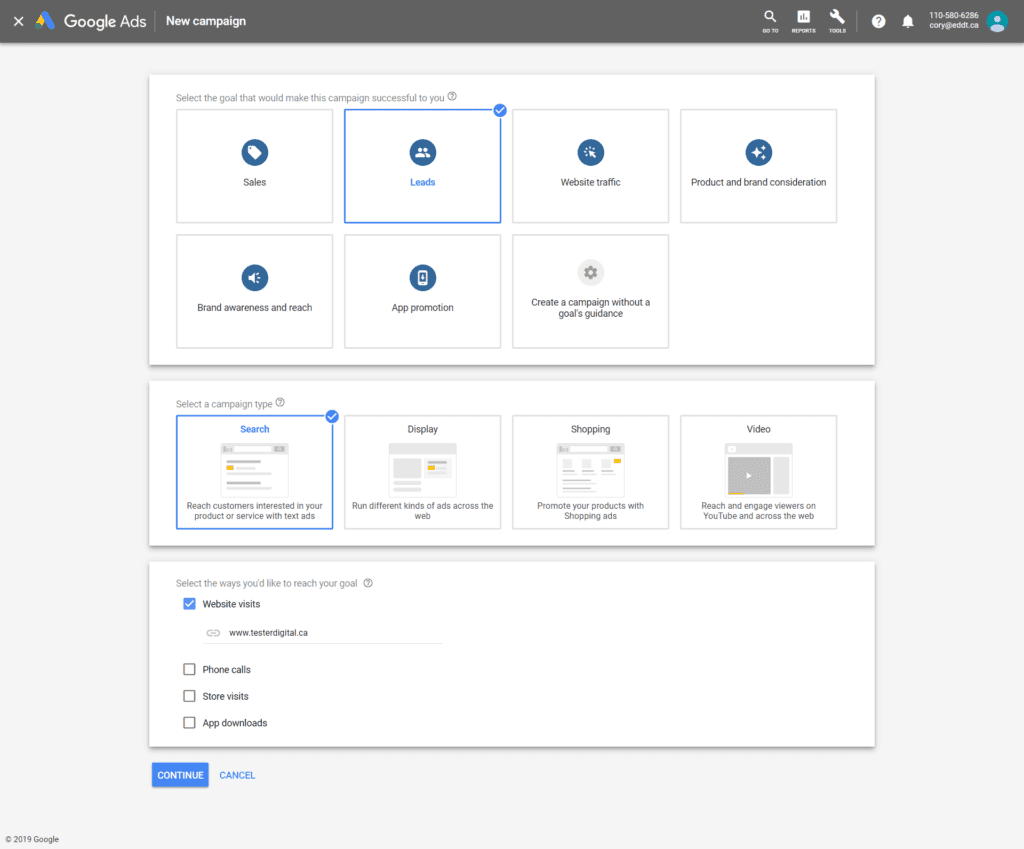
Next you must select a campaign type – for your first campaign we recommend you choose “Search” – these are the typical ads you see when you perform a google search, and they are usually the most effective.
Display ads are ads that Google displays on other blogs and websites, often in the sidebar. These can be quite useful as well, and it may be worthwhile to run a Display ad campaign in addition to your search campaign.
If you do decide to run a Display ad campaign, we recommend you use Google’s managed placements and targeting tools to narrow your audience, and block mobile app placement, as these ads don’t perform as well.
For now, we will continue walking you through creating your first Search campaign, but for more information on Display ads, Shopping ads (for e-commerce), or Video ads, don’t hesitate to contact us!
Now we must select our campaign settings – there are a lot of options here and it may seem overwhelming, but we will walk you through it step by step.
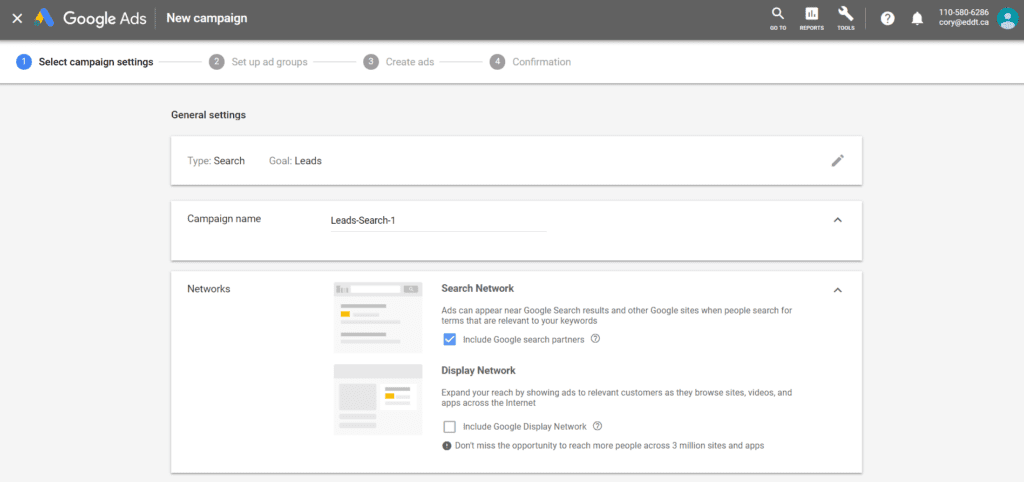
First we see our campaign type (Search) and goal (Leads) which we selected in the last step.
Next, we see “Campaign name” – by default it will be called Leads-Search-1, but you can make it something more descriptive if you like.
Under “Networks”, you must choose if you would like to include Google search partners, and Google Display Network.
For Google search partners, we recommend leaving it selected at first – it typically results in more conversions, but a higher cost per click – however, it may be worth testing campaigns with and without the search partners selected to see which performs best for your business – for in depth analysis of the pros and cons of the search partners, check out this write-up by SearchEngineLand.
For Display Network, we recommend deselecting it – if you want to run Display Network ads, we recommend doing it in a separate campaign.
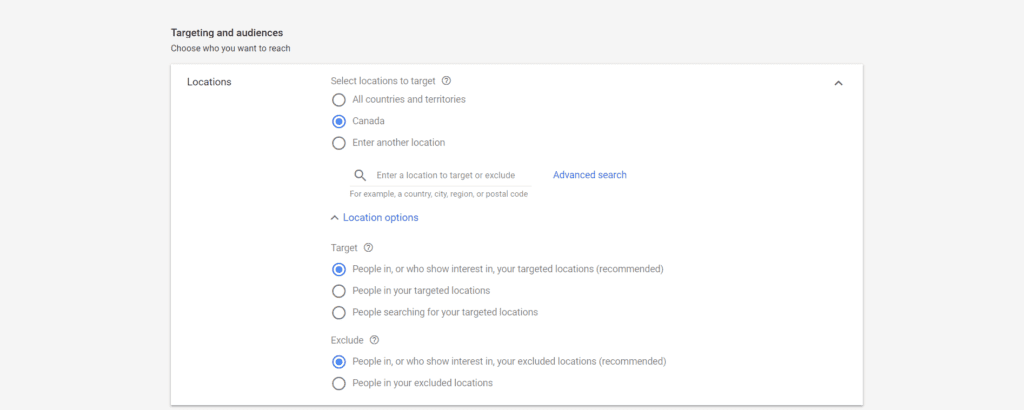
Next, we are given options related to “Targeting and audiences”.
This enables you to enter the locations you would like to see your advertisements, as well as exclude locations that you would not like to see your ads.
For our business, we are targeting clients all across Canada, but a local sporting goods store in Winnipeg may only want to target their local audience.

Next, you must choose the languages your customers speak. This is relatively straightforward – if you are targeting customers in different languages, be sure to ad them appropriately.
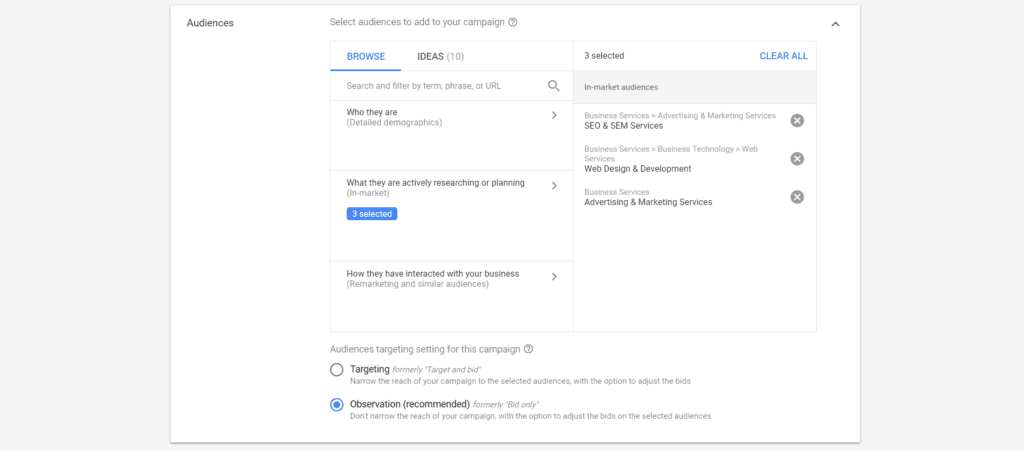
Next you must select Audiences to ad to your campaign – Google helps out by offering ideas based on your website content, and allowing you to search for popular target audiences.
You can base your audience off of “Who they are” – demographics such as age and gender.
You can also choose based on “What they are actively researching or planning” – allowing you to target users actively searching for terms in your market area.
And finally you can choose your audience based on “How they have interacted with your business” in the past – i.e. remarketing.
You can choose if you want to use Targeting (which narrows your campaign to the audiences you have selected) or use Observation, which will not narrow your reach, but allows adjusted bids so that you can bid more for your target audience.
For your first campaign, we recommend you stick with Observation, but for a detailed breakdown of the pros and cons of Targeting vs. Observation, check out this guide from Google Partner Simon Koss.
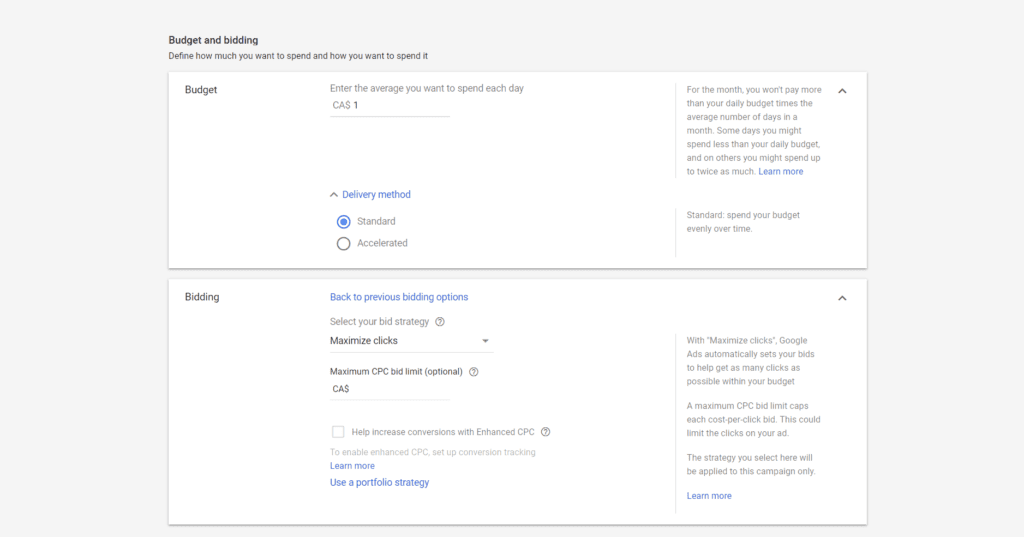
After defining your audience, it is time to set your Budget and bidding.
Here is where you decide the average amount you would like to spend each day. Some days you may spend less, and some days you may spend up to twice as much, but Google will not exceed your average daily budget over the course of each month (it will balance out in the end).
You can choose between Standard Delivery (spending your budget evenly over time), or an Accelerated Delivery, where Google may use your entire budget in a short period of time, reaching as many people as quickly as possible.
We recommend sticking with Standard for now.
Under bidding, you can set your bid strategy, Maximum CPC (optional), and toggle Enhanced CPC.
For your first campaign, the simplest option is to select Maximize clicks, with no maximum bid and no Enhanced CPC.
However there is a lot of customization potential here, and Google offers an in depth guide with more information on these options. You can access it here.
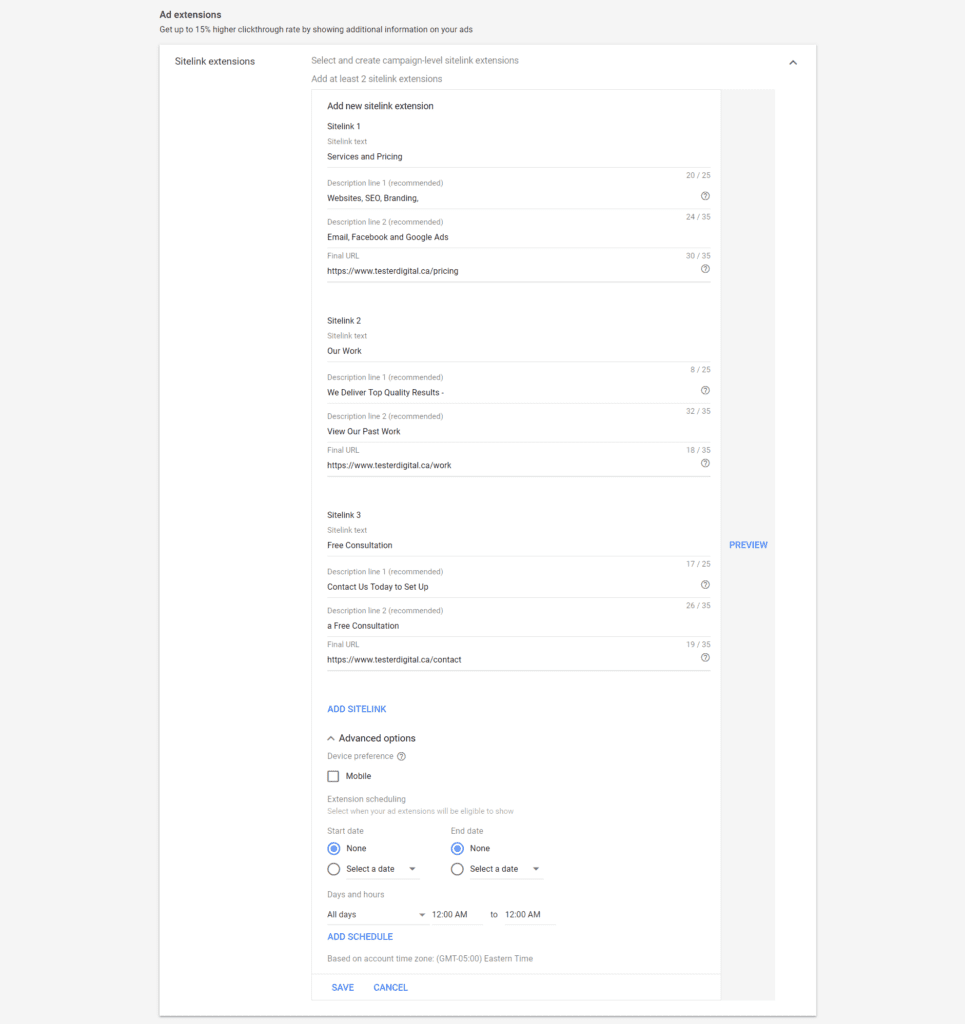
The Ad extensions section may seem a bit intimidating, but it is worth putting in the time to set up good ad extensions, as they result in a much higher click through rate, and help your ad stand out in Google searches.
Sitelink extensions allow you to ad links to different landing pages or subpages to your ad. We recommend filling them out and using the “preview” button to test how they will appear in the context of your ad.
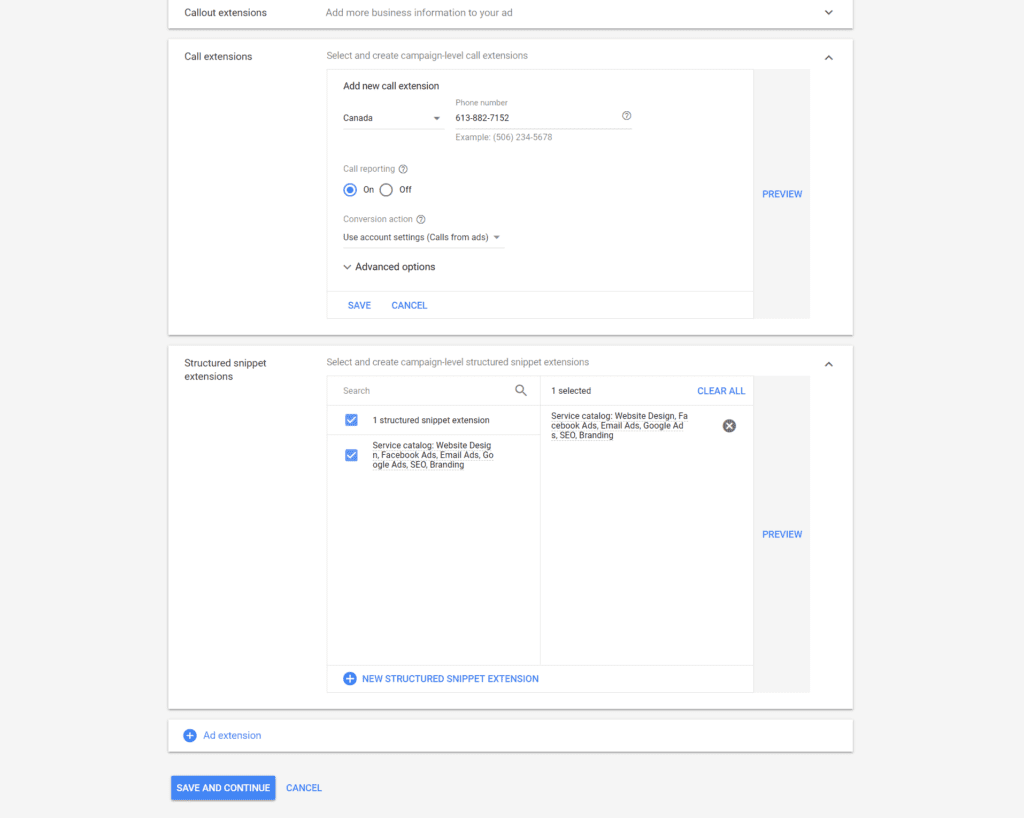
Callout extensions allow you to promote unique offers such as 24 hour customer service, or free shipping. We are not utilizing callout extensions on this particular campaign, but you can find more information on these extensions here.
Call extensions allow you to add your business phone number to the advertisement, and track calls from the ad.
Structured snippet extensions allow you to add a heading followed by a list to your ad. For example, one available heading is “Service catalog,” where we have listed services that we offer.
With all of the extensions, we highly recommend filling in some sample text and previewing how it will appear in the context of your ad.
When you have finished filling in your extensions, review everything you have done so far, and then click “Save and Continue.”
Now it is finally time to create your ad groups and ads.
Step 3 – Ad Creation
Within your campaign, you can set up multiple “ad groups.”
These will allow you to set up different ads with different keyword targeting for different audiences.
In this example, we set up an ad group to market our Facebook advertising services.
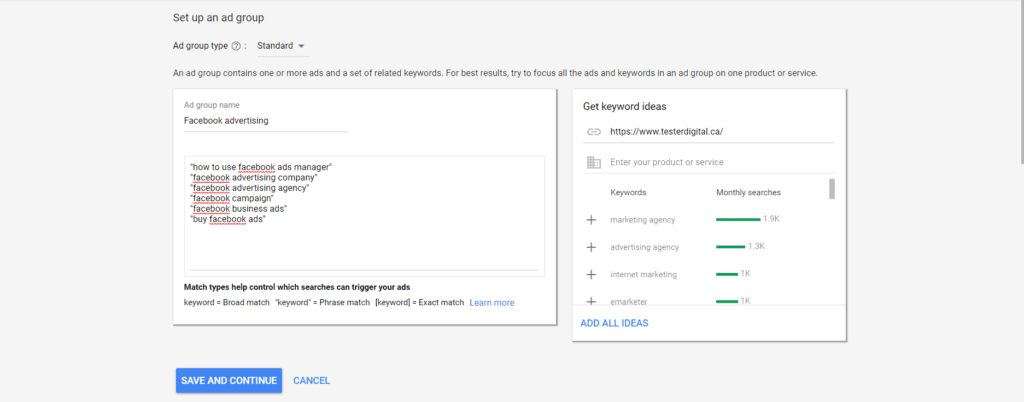
At this point, you should name your ad group (or groups if you would like to run multiple ads targeting multiple audiences). Use a descriptive name that aligns with the goal of the ad. You can always add additional ad groups to a campaign later.
And now it is time for one of the most important aspects of a successful Google Ads campaign – keyword planning.
Fortunately, Google has an excellent, data driven tool to help you with this – the Keyword Planner.
We could write an entire blog post solely covering keyword planning, but the folks over at HubSpot have already written an excellent guide which you can find here.
It is worthwhile to set aside an hour of your time to do proper keyword planning, since this will have a huge impact on the success of your campaign.
Once you have defined your keywords, go ahead and click “Save and Continue.”
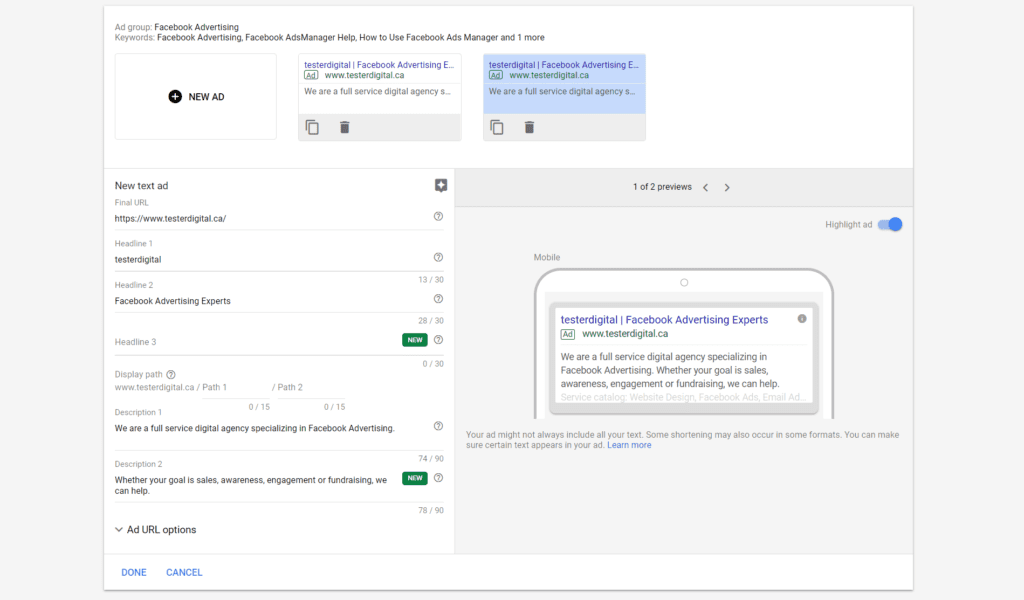
Now it is time to create an ad (or multiple ads) within our ad group or ad groups.
First, select the URL you would like to link people to. This may be your homepage, or a specially designed landing page tailored to customers specifically related to the ad.
For example, if our ad is focusing on our Facebook marketing services, we may want to link to a landing page that specifically highlights our Facebook advertising expertise, our services offered, and a form to schedule a free consultation.
After selecting the URL, you can enter up to 3 headlines with a maximum of 30 characters each – we recommend using some of your keywords in your headlines, and be sure to utilize the preview feature to make sure the headline formatting looks good.
After filling in your headlines, you can fill in 2 descriptions, each 90 characters long. Again, include some of your keywords, be concise, and try to capture the attention of your audience.
Once you have finished creating your ad(s), click “Save and Continue.”
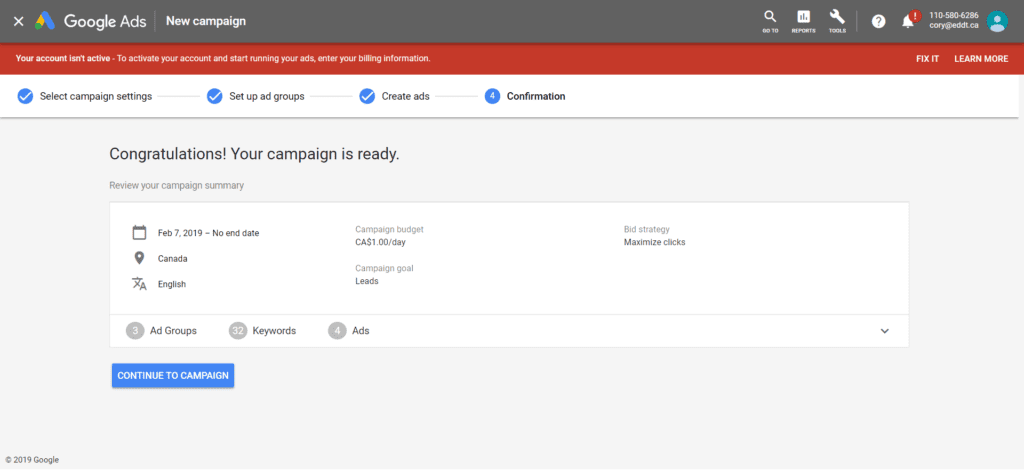
At this stage, all you have to do is confirm by clicking “Continue to Campaign.”
If you haven’t already entered your billing information, Google will tell you your account is not yet active. Simply click “Fix It,” and input your billing information, and your campaign will begin running.
Your campaign is now running, congratulations!
But that does not mean your work is over. You should continue monitor your campaign and make adjustments based on how your ads are performing.
The team at ADSTAGE has put together a short and sweet guide to analyzing your Google Ads performance, which you can check out here.
You may notice that certain ad sets or keywords are outperforming others. You want to invest more of your budget into these ads, and cut the ads and keywords that are performing poorly.
If you notice that you are getting clicks from unwanted keywords of phrases that are unrelated to your business, it may be worthwhile to add these keywords to your negative keyword list, so you stop appearing in those search queries.
No Google Ads campaign is perfect, and there is always room to continue to optimize and improve the performance of your ads.
But by following the steps outlined in this guide, you should now have a Google Ads campaign that is working for your business and giving you a solid return on your investment.
If you would like professional help with your Google Ads marketing, or any aspect of your Digital Marketing Strategy, we would love to hear from you! Schedule a free consultation today.
